Unlocking Flavor and Longevity: A Comprehensive Guide to Pickled Garlic
For garlic aficionados, the pungent, versatile clove is a culinary cornerstone. But what if you could extend its life, soften its bite, and infuse it with a tangy zest that elevates countless dishes? Enter pickled garlic. Far more than just a preserving technique, pickling transforms fresh garlic into a gourmet ingredient, ready to star in everything from vibrant salads to hearty stews. If you've ever wondered how to make pickled garlic at home, you're in the right place. This guide will walk you through every step, ensuring you master the art of crafting flavorful, long-lasting cloves that will become a staple in your pantry.
The Allure of Pickled Garlic: Beyond Basic Preservation
Pickling isn't just a clever trick to make your produce last longer; it's an ancient culinary art that enhances flavor and even offers additional benefits. While fresh garlic is undoubtedly delicious, pickling introduces a bright, acidic tang that mellows its raw intensity, making it more approachable for many palates. This process also significantly extends the shelf life of your garlic, allowing you to enjoy its goodness for several months, often without refrigeration if properly canned (though quick pickles typically reside in the fridge). Beyond longevity, pickled garlic offers:
- Enhanced Flavor Profile: The vinegar-based brine infuses the garlic with a delightful sweet-sour taste, often complemented by various spices. It's still distinctly garlic, but with a vibrant twist.
- Digestibility: The pickling process can break down some of the compounds in garlic, potentially making it easier for some individuals to digest compared to its raw form.
- Versatility: From garnishing charcuterie boards and adding a kick to sandwiches, to stirring into pasta sauces or mashing into dressings, pickled garlic is incredibly adaptable.
- Nutrient Retention: While cooking can diminish some of garlic's beneficial compounds, pickling tends to preserve many of its nutritional properties, similar to raw garlic, with the added benefit of extended availability.
This culinary transformation makes learning how to make homemade pickled garlic a truly rewarding endeavor for any kitchen enthusiast.
Selecting and Preparing Your Garlic for Pickling Perfection
The foundation of exceptional pickled garlic lies in the quality of your fresh ingredients. Starting with subpar cloves will only yield subpar results, regardless of how meticulously you follow the pickling steps.
Choosing the Best Garlic:
- Freshness is Key: Always opt for the freshest garlic you can find. Look for firm, plump heads that feel heavy for their size.
- Inspect for Blemishes: Avoid any garlic with soft spots, bruising, mold, or green sprouts (germs) that indicate older garlic, as these can affect flavor and pickling quality. A small germ is acceptable, but larger ones suggest the garlic is past its prime for pickling.
- Uniformity: Selecting cloves that are relatively uniform in size will make them easier to pack efficiently into your jars, minimizing gaps and ensuring even pickling.
Peeling and Initial Preparation:
This can be the most time-consuming part, especially if you're pickling a large batch. Here are some tips to streamline the process:
- Separate the Cloves: Break the garlic head into individual cloves.
- Blanching (Optional but Recommended): For easier peeling and to help prevent the garlic from turning an unsightly greenish-blue color (a harmless but aesthetically unappealing reaction between garlic's sulfur compounds and acids), you can quickly blanch the cloves. Drop them into boiling water for 30-60 seconds, then immediately transfer them to an ice bath. The skins will loosen considerably.
- Peel Carefully: Use a small, sharp knife to trim the root end and peel away the papery skin. Alternatively, a silicone garlic peeler can be a lifesaver. Avoid crushing the cloves during this process, as you want them to retain their shape.
- Cold Water Soak: After peeling, place your clean cloves in a bowl of cold water for about an hour. This helps to further soften them, remove any lingering dirt, and reduces some of their pungent raw intensity.
- Pat Dry: Once soaked, drain the garlic thoroughly and pat the cloves completely dry with a paper towel. Any excess water can dilute your brine.
Crafting the Brine and Sterilizing Your Jars
The brine is where the magic happens, transforming raw garlic into tangy, preserved delights. Simultaneously, ensuring your jars are sterile is paramount for food safety and long-term storage. This step is critical to understand how to make pickled garlic safely.
Essential Ingredients and Equipment:
Before you begin, gather your tools and ingredients:
- Glass Jars: Pint or half-pint jars with tight-fitting, new lids are ideal.
- Vinegar: White vinegar is common for a clean taste, but apple cider vinegar offers a fruity tang, and red wine vinegar can add a beautiful color and robust flavor. Choose a vinegar with at least 5% acidity.
- Water: Filtered water is preferred.
- Salt: Pickling or canning salt is recommended, as it's free of anti-caking agents that can cloud your brine.
- Sugar: A small amount balances the acidity of the vinegar.
- Spices (Optional): Get creative! Black peppercorns, dill weed, bay leaves, red pepper flakes, mustard seeds, or even a sprig of fresh thyme or rosemary can add incredible depth.
- Basic Kitchen Tools: Cutting board, sharp knife, measuring spoons and cups, a non-reactive pot, funnel, and ladle.
Preparing the Brine Solution:
The brine not only preserves the garlic but also infuses it with flavor. Achieving the correct proportions is essential for food safety and taste.
- Combine Liquids: In a non-reactive pot (stainless steel is best), mix 2 cups of vinegar with 2 cups of water. This 1:1 ratio is a common starting point for a balanced brine.
- Add Seasoning: Stir in 1 tablespoon of pickling salt and 1 teaspoon of sugar. Adjust sugar to your preference for a sweeter or tarter pickle.
- Introduce Spices: If using, add your chosen spices directly to the brine mixture now. This allows their flavors to meld as the brine heats. Popular choices include 1 teaspoon of black peppercorns, 1-2 bay leaves, or 1 teaspoon of dill seed.
- Heat Gently: Place the pot over medium heat. Stir occasionally until the salt and sugar have completely dissolved. It's important *not* to bring the brine to a rolling boil; simply heat it enough to dissolve the solids.
- Cool Down: Remove the brine from the heat and allow it to cool completely before pouring it over your garlic. Pouring hot brine over cold garlic can sometimes result in a less crisp texture.
Sterilizing Your Jars:
Sterilization is a critical step to eliminate bacteria, yeasts, and molds that could spoil your pickled garlic. Neglecting this step can lead to food spoilage and potential health risks.
- Wash Thoroughly: Wash your glass jars and lids (not the sealing compound on the lids) with warm, soapy water. Rinse them thoroughly to remove all soap residue.
- Oven Sterilization: For a simple method, place the clean jars upside down on a baking sheet lined with parchment paper. Bake them in a preheated oven at 120°C (250°F) for at least 15-20 minutes. Keep them warm in the oven until ready to fill.
- Boiling Water Sterilization (Alternative): Submerge the clean jars in a large pot of boiling water for 10 minutes. Keep them in the hot water until you're ready to fill them.
- Lids: The flat metal lids with sealing compound should be simmered (not boiled) in hot water for a few minutes just before use to soften the sealing compound.
By taking these essential steps, you're well on your way to creating delicious, safe, and flavorful pickled garlic. For more detailed instructions on quick pickling, check out our Easy Pickled Garlic Recipe: Step-by-Step Guide to Tangy Cloves.
Assembling, Sealing, and Enjoying Your Pickled Garlic
With your garlic prepared, brine cooled, and jars sterilized, it's time to bring it all together.
Filling the Jars:
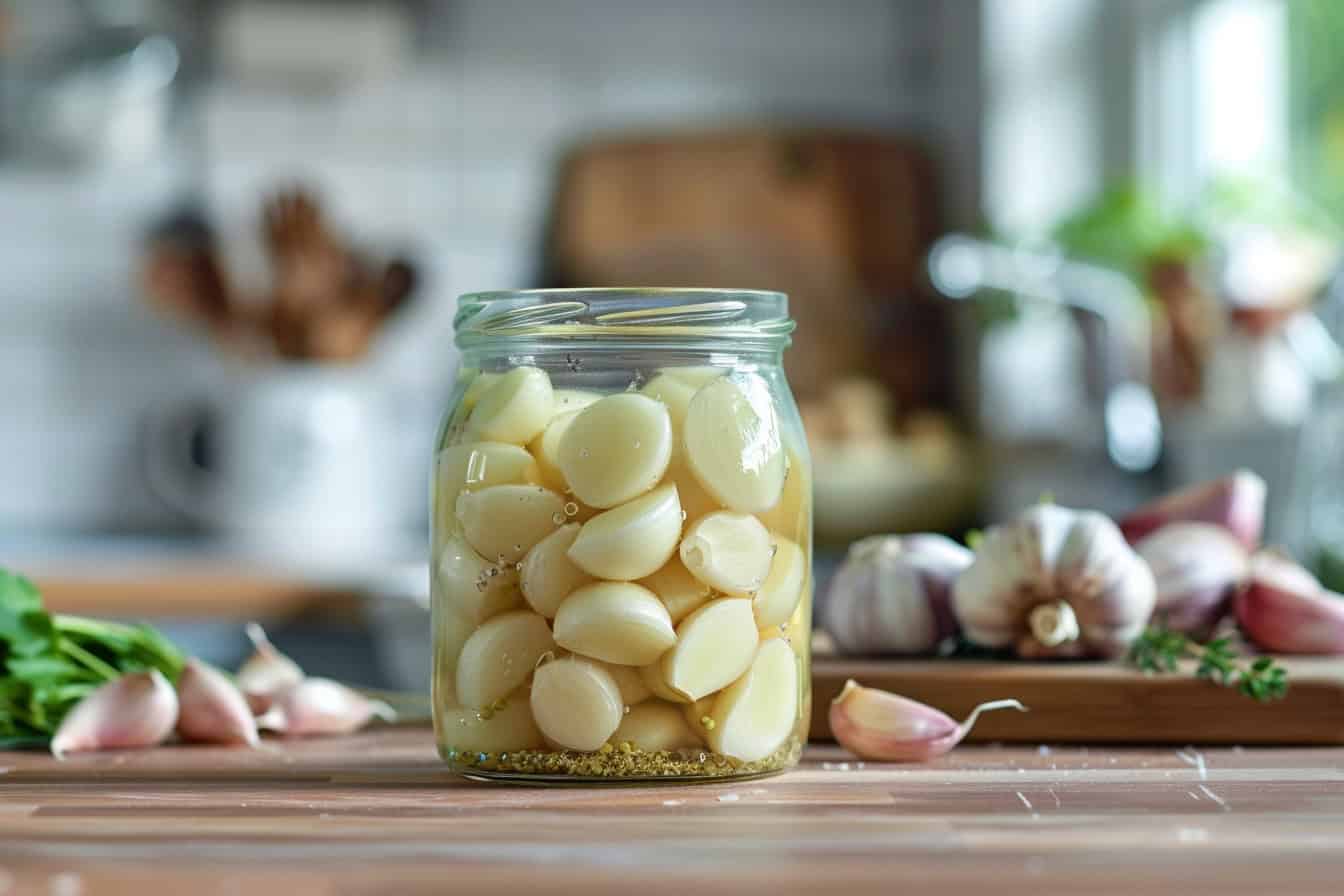
- Pack the Garlic: Carefully transfer the dried, peeled garlic cloves into the warm, sterilized jars. Pack them relatively tightly, but avoid crushing. Leave about half an inch of headspace from the rim of the jar.
- Add Brine: Using a funnel and ladle, slowly pour the cooled brine over the garlic cloves, ensuring they are completely submerged. Maintain the half-inch headspace. Include any whole spices from the brine mixture.
- Remove Air Bubbles: Gently tap the jars on your counter a few times, or use a non-metallic utensil (like a chopstick or plastic knife) to dislodge any trapped air bubbles. Top off with more brine if necessary to maintain headspace.
- Wipe Rims: Clean the rims of the jars thoroughly with a damp, clean cloth to ensure a proper seal. Any food residue can prevent the lid from sealing.
- Apply Lids: Place the warm, flat lids on top of the jars, followed by the screw bands. Tighten the bands finger-tight – just until resistance is met. Do not overtighten.
Processing (For Long-Term Shelf-Stable Storage - Optional):
If you intend for your pickled garlic to be shelf-stable for months outside the refrigerator, you will need to process it in a boiling water canner. This is typical for traditional canning and ensures a vacuum seal and kills any remaining spoilage microorganisms.
- Submerge the filled, lidded jars in a boiling water canner, ensuring at least an inch of water covers the jar tops.
- Bring the water to a rolling boil and process according to recommended times for your jar size and altitude (often around 10-15 minutes for pint jars).
- Carefully remove jars and let them cool undisturbed on a towel for 12-24 hours. Check seals (lid should be concave and not flex when pressed).
For quick pickles intended for refrigerator storage, processing is not necessary.
Tips for the Best Pickled Garlic and Storage
- Patience is a Virtue: While you can technically eat pickled garlic right away, the flavors truly meld and deepen over time. For optimal taste, wait at least 1-2 weeks before enjoying your homemade creation. Some prefer to wait even longer, up to a month.
- Storage: If you did not water-bath can your jars, store your pickled garlic in the refrigerator. It will typically last for several months (3-6 months) when properly stored. Water-bath canned jars can be stored in a cool, dark pantry for up to a year.
- Embrace the Color Change: Don't be alarmed if some of your pickled garlic cloves develop a greenish-blue tint. This is a harmless natural reaction between sulfur compounds in the garlic and the acid in the brine (especially if metals are present or if the garlic wasn't blanched), and it does not affect the flavor or safety.
- Creative Uses: Beyond snacking, try mincing pickled garlic into vinaigrettes, mashing it into hummus, layering it into sandwiches, adding it to marinades, or using it to brighten up roasted vegetables or grilled meats. The pickling liquid itself can also be used as a flavorful addition to dressings or sauces.
Conclusion
Learning how to make pickled garlic is a simple yet incredibly rewarding culinary skill. It allows you to transform humble garlic cloves into a gourmet ingredient that boasts extended shelf life, enhanced flavor, and impressive versatility. With just a few basic ingredients and straightforward steps, you can create a tangy, flavorful condiment that will elevate your meals and impress your taste buds. So, gather your garlic, prepare your brine, and embark on this delicious journey – your pantry (and palate) will thank you!
